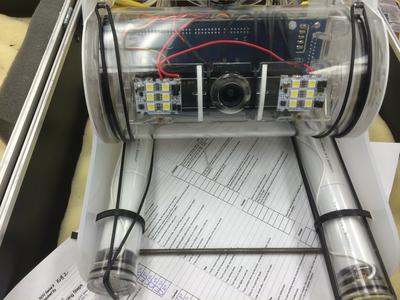
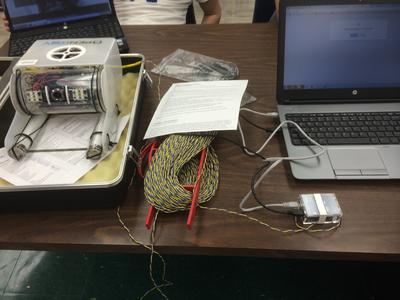
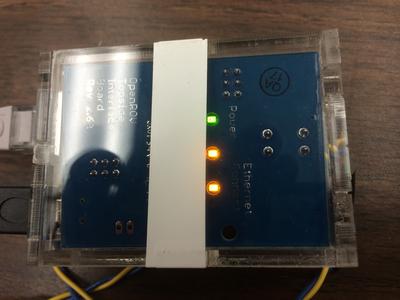
We did our second dive in the pool...this time students were in control of the ROV. Before the dive, we mounted the GoPro 3 on top of the ROV and adjusted the weights to the front bar. We also researched a way to reduce the condensation...decided to put a silica pack inside the camera tube and sprayed the o-rings with silicone spray to hopefully get a better seal. We setup the screencastify program so we could capture the cockpit this time. Check out our video that highlights some of the footage captured on our dive in the pool. We had students swim with the robot so we would be able to get more dynamic video than just an empty pool. At the same time, they captured pictures/video with a GoPro 1 using a helmet mount. We also used an iphone 5s to capture some video/pictures along with the screencastify recorder and GoPro 3. Overall, dive went well as students were able to do the following: inspect the ROV in pairs with two checklists, setup the ROV for the dive, drive the ROV using keyboard controls, capture video/pictures using cameras on their phones and swim with ROV. We are still in need of some help with some issues...- gamepad control...can copy the updated code to put into gamepad.js but unsure how to save changes in cockpit?- water in the camera tube along with condensation...still had condensation but this time a little bit of water too? Better way to seal the device?- rust on top motor...sprayed before dive and wiped dry after dive - unsure of how to remove props/motors to rinse with water and alcohol?- acsend/descend seem to be switched...fix with code and load onto ROV? Looks like we will be back into the workroom both researching and modifying the ROV before our next pool test. With any luck, we hope to sort out this issues with our third dive and our goal is to have the fourth dive somewhere on a Miramichi Watershed!